
The US Centers for Disease Control and Prevention (CDC) is the national public health agency. It says adults 65 and older need muscle-strengthening activity on 2 or more days a week.
The National Institute on Aging, the federal research agency on aging, says one set of 8 to 12 repetitions of each exercise is effective. Two or three sets may be better.
A chair makes that doable if balance, sore joints or low stamina make floor work hard. You sit for most of the moves, or stand and hold the chair.
This is general information, not medical advice, so check with your doctor if you have concerns.
Set up your chair first
Choose a sturdy chair with no wheels that will not tip or slide.
A dining table chair is usually a good choice, because it has a firm seat and a back. Skip the couch, and never use an office chair on wheels. If you need one, Amazon lists stable chairs and exercise seats.
Sit with your feet flat on the floor and your knees bent at right angles. That is the advice of the NHS, the UK’s National Health Service.
Harvard Health Publishing, the consumer health information division of Harvard Medical School, says a chair without arms gives you more room to move freely. The NHS adds that arms restrict your movement.
One move is the exception. The chair dip below needs a chair with armrests, so use a different chair for that one.
Arms and shoulders

These five moves are done seated. Breathe out as you lift or push, and breathe in as you lower.
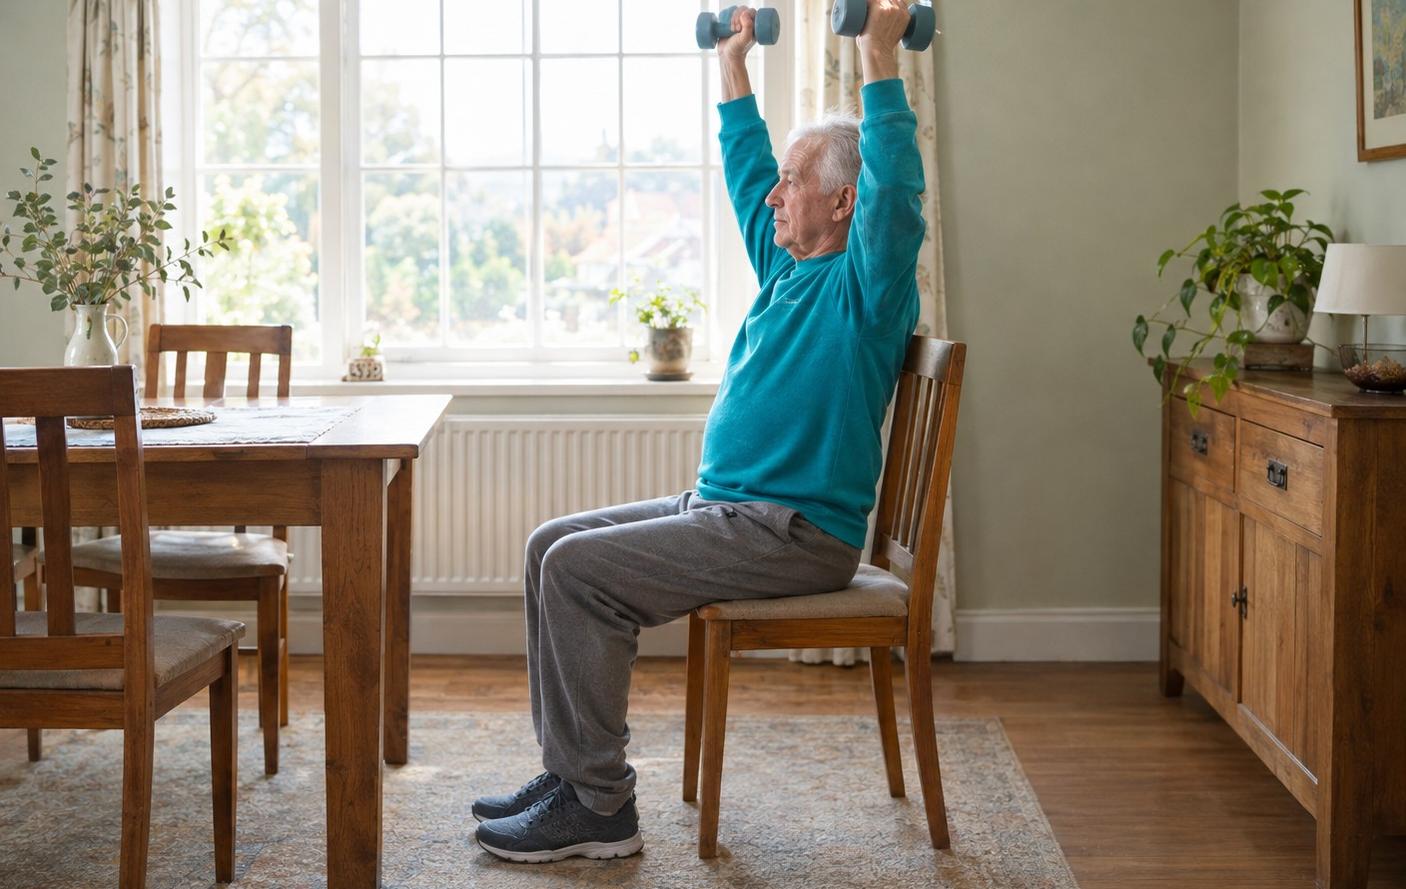
1. Overhead arm raise
- Sit with your feet flat and shoulder-width apart. Hold your arms at shoulder height, palms facing forward.
- Breathe out and raise both arms over your head, keeping your elbows slightly bent.
- Hold for 1 second, then breathe in as you slowly lower your arms.
The National Institute on Aging (NIA) guide describes this move with hand weights. As a beginner, start with no weight. It works the shoulders and arms.
2. Side arm raise
- Sit tall with your arms down at your sides, palms facing in.
- Breathe out and raise both arms out to the side until they reach shoulder height.
- Hold for 1 second, then breathe in as you lower them.
The NIA guide says this move strengthens your shoulders and makes lifting groceries easier.
3. Biceps curl
- Sit with your arms down at your sides, palms facing in.
- Slowly bend one elbow and lift your hand toward your upper chest. Keep that elbow close to your side and turn your palm to face your shoulder as you lift.
- Pause, then lower your arm and turn the palm back to the start.
Cleveland Clinic, a nonprofit academic medical center in Ohio, suggests doing the curl with no weight first. If that feels easy, add some.
4. Shoulder blade squeeze
- Bend your arms at the elbows, so your forearms are parallel to the floor.
- Gently pull your elbows back and squeeze your shoulder blades together.
- Hold for a moment, then release.
Cleveland Clinic lists this one for the back and upper chest. It also builds strength to bring your shoulders back into alignment.
5. Chair dip
This is the one move that needs a chair with armrests.
- Sit with your feet flat and shoulder-width apart. Lean slightly forward, with your back and shoulders straight.
- Grasp the arms of the chair with your hands beside you.
- Breathe out and push your body slowly up off the seat. Hold for 1 second, then breathe in as you lower yourself back down.
The NIA guide says the pushing motion strengthens your arm muscles even if you cannot lift yourself fully off the chair.
Legs
Leg strength is what you use when you get up from a chair or climb stairs. These five moves start seated and finish standing, with your hands on the chair.
6. Chair stand
- Sit near the front edge of the chair, feet hip-width apart. Lean slightly forward.
- Stand up slowly using your legs, not your arms. Look forward, not down.
- Sit back down slowly. Use your hands only to guide you, if you need to.
Harvard Health Publishing puts the chair back against a wall for this one. The NIA guide says it also strengthens your abdomen.
If you have knee or back problems, talk with your doctor first.
The same movement is timed in the 30-second chair stand test. The leg strengthening routine teaches it in more depth.
7. Seated leg extension
- Shuffle toward the front of the chair. Keep your back straight and your shoulders back.
- Slowly lift one leg until it is parallel to the floor, or as close as you can get.
- Hold for a moment, then lower the foot to the ground.
According to Cleveland Clinic, wearing shoes adds challenge, and so do ankle weights. The NIA guide says this move strengthens the thighs.
8. Seated march
- Sit upright without leaning on the chair back. Hold the sides of the seat.
- Lift your left leg with the knee bent, as far as is comfortable. Place the foot down with control.
- Repeat with the other leg.
The NHS says this move strengthens hips and thighs. If your body allows, you can also march standing and hold the back of the chair, per Cleveland Clinic.
9. Heel raise
- Sit with both feet on the floor and your legs about hip-width apart.
- Raise both heels as high as you can without pain, keeping your toes on the ground.
- Lower your heels back down.
To do it standing, rest your hands on the back of the chair and lift both heels slowly. The NHS says that doing the standing version without support makes it harder.
10. Mini-squat holding the chair
- Stand behind the chair with your hands on its back and your feet hip-width apart.
- Slowly bend your knees as far as is comfortable. Keep them facing forward and your back straight.
- Come back up gently, squeezing your buttocks as you rise.
The leg strengthening routine covers the other standing moves with a chair, such as the back leg raise, side leg raise and knee curl.
Core
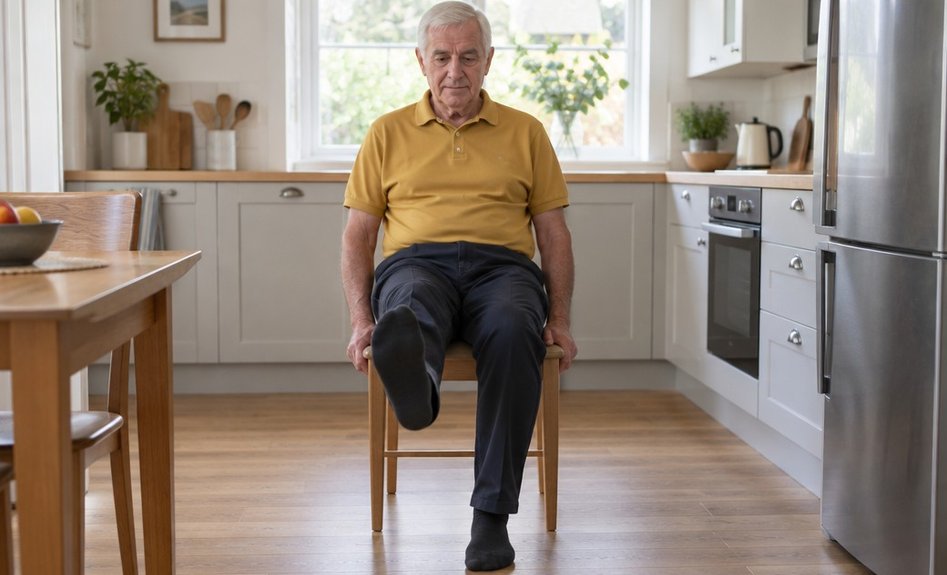
The seated pelvic tilt is a small move, and it is meant to be small. Cleveland Clinic lists it for the abdominals and back.
11. Seated pelvic tilt
- Sit with your back touching the chair back, feet on the floor and shoulder-width apart.
- Keep your shoulders and upper body still.
- Squeeze your buttocks and abdominal muscles to push your lower back gently into the chair, tucking your tailbone under.
- Hold for a few seconds and release.
Twists and side bends stretch the torso rather than strengthen it, so they belong with chair yoga.
How many, how often, and how to build up
Do one set of 8 to 12 repetitions of each move. Stop a set when another repetition would be difficult, but not painful.
Cleveland Clinic puts it this way: push only to the point where you feel your muscles working, not to pain or exhaustion.
Make it harder one step at a time. Harvard Health Publishing says that when you can comfortably do 12 repetitions without completely tiring the muscle, it is time to add weight.
If you cannot lift a weight eight times, use a lighter one. NIA also lists more sets (up to two or three) or more days a week as ways to progress.
- Start with no weight. The NIA guide says some people need 1- or 2-pound weights or none at all.
- For a weight at home, tape a plastic milk jug closed with sand or water in it, or use soup cans or bottled water.
- Lift and lower smoothly. The NIA guide suggests about 3 seconds up, a 1-second hold, and 3 seconds down. Never jerk a weight into place.
- Keep breathing. Holding your breath can change your blood pressure. The NIA guide says this matters most for people with heart disease.
- Do not lock your arm and leg joints straight.
Muscle soreness for a few days is normal at first, according to the NIA guide.
A weekly plan
Leave a day between sessions that work the same muscles. NIA says to avoid working the same muscle group on two days in a row.
Two days a week is the CDC minimum.
| Day | What to do |
|---|---|
| Monday | Arms and shoulders (moves 1 to 5) and the pelvic tilt (move 11) |
| Thursday | Legs (moves 6 to 10) |
| Saturday (optional) | Arms and shoulders again |
Each session takes one set of 8 to 12 repetitions per move. After a few weeks, add a second set to the moves that feel easy.
When to stop
Stop at once if you feel pain or pressure in your chest, neck, shoulder or arm. The NIA guide gives the same advice for these signs:
- feeling dizzy or sick to your stomach
- breaking out in a cold sweat
- muscle cramps
- severe pain in your joints, feet, ankles or legs
The NIA guide also says that if you feel sick or have pain during or after exercise, you are doing too much.
It suggests checking with your doctor before you start in these cases:
- dizziness or shortness of breath
- chest pain or pressure
- swollen joints
- recent hip or back surgery
Where to begin
Sit in a sturdy chair without arms, take no weights, and do the overhead arm raise for 8 repetitions. Breathe out each time your arms go up.